3D Printer - V-CORE 3
A build of open-source 3DP
Ratrig V-CORE 3
This project revolves around building an open-source 3D printer, Ratrig V-CORE 3.
Motivation
The motivation for undertaking this project originates from my less-than-ideal printing experiences at NTU MakerSpace, particularly within the Electrical Engineering department. With only two 3D printers available, namely X1E and a hypercube crafted by a senior member, the outdated condition and lack of proper care from users have led to unsatisfactory print quality. Despite numerous attempts at calibration and tuning, the desired printing quality has proven elusive. This prompted me to take on the challenge of constructing my own 3D printer.
Selection of machine
Initially, I considered various machines, including Voron 2.4, VZbot from Simon Vez, and Ratrig V-CORE 3. However, I ruled out Voron due to its commonality—I was looking for something more unique. Additionally, as a beginner, I believed starting with VZbot might be overly challenging, despite its impressive speed and decent quality. Consequently, I settled on building the Ratrig V-CORE 3, drawn to its distinctive calibration mechanism.
Building
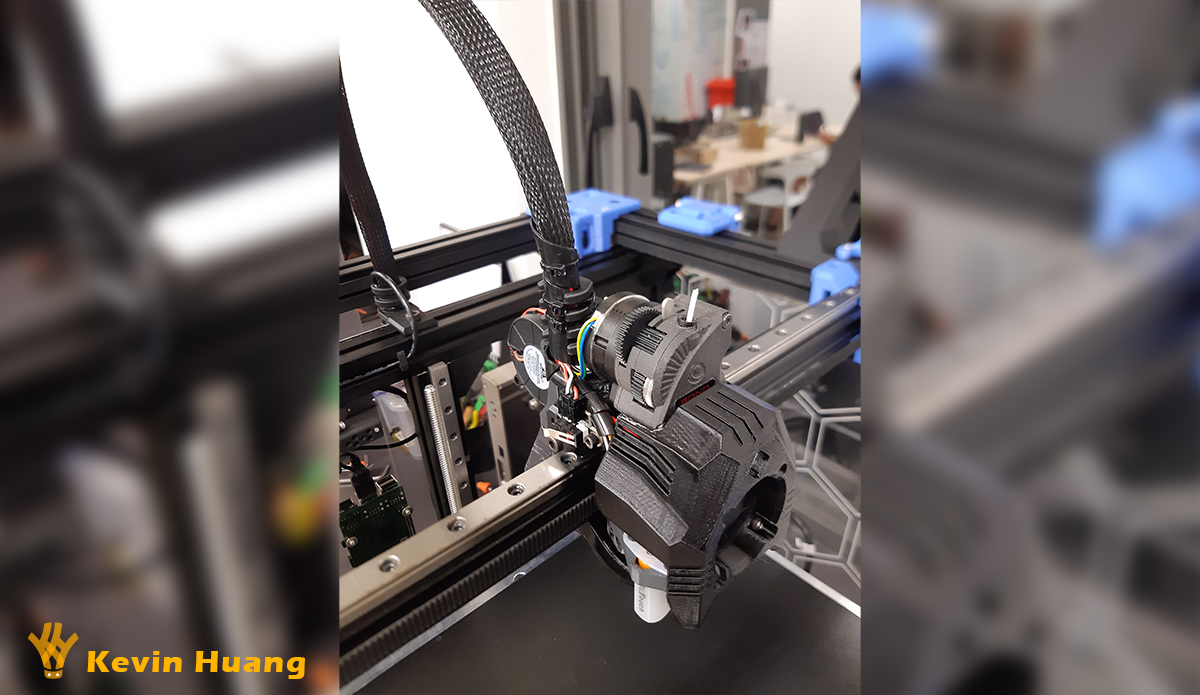
The printer’s link can be found here. To keep costs manageable, I purchased only the essential components from the Ratrig store, and for the printed parts, I used ABS filament printed on a Voron 2.4 printer belonging to my senior.
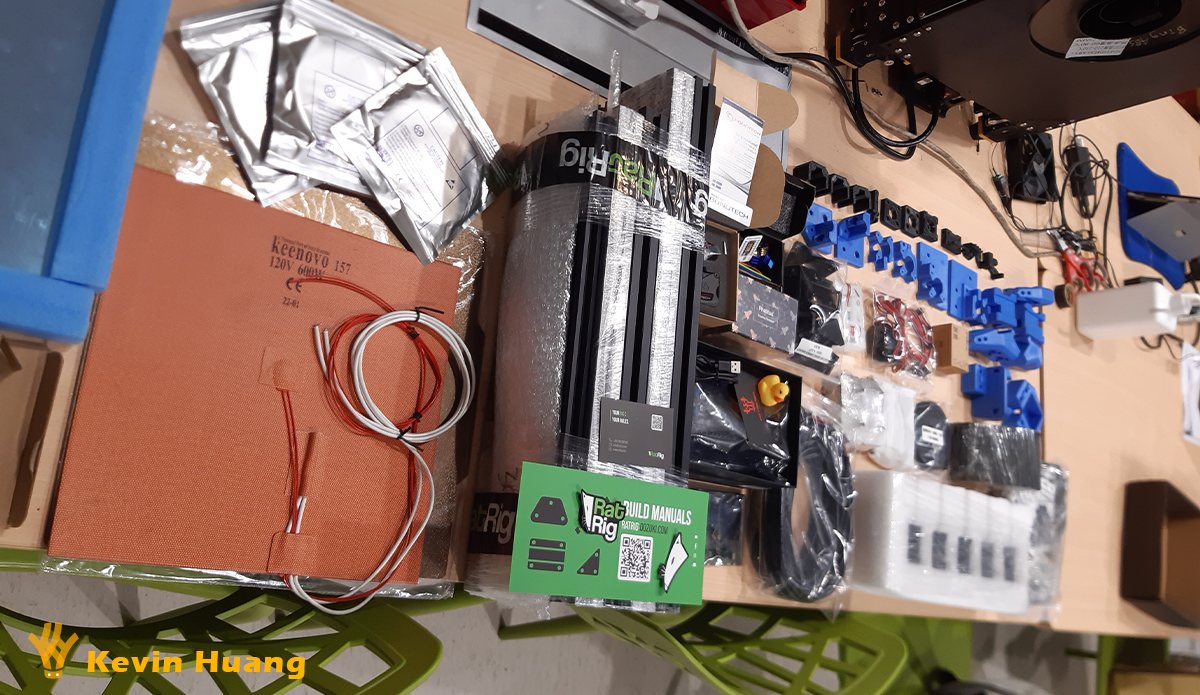 All components of my 3D printer
During the building process, I made several modifications to the printer. Initially, I wasn’t satisfied with the bulky enclosure kit provided by Ratrig, so I found a suitable reference on Ratrig’s gallery and based my enclosure design on it. For version 2 of the enclosure, I appreciated the improvements in the new Ratrig design, but it wasn’t compatible with the older V-CORE 3 model. To address this, I made further modifications to my printer to accommodate the new enclosure.
| Enclosure version 1 | Enclosure version 2 |
|---|---|
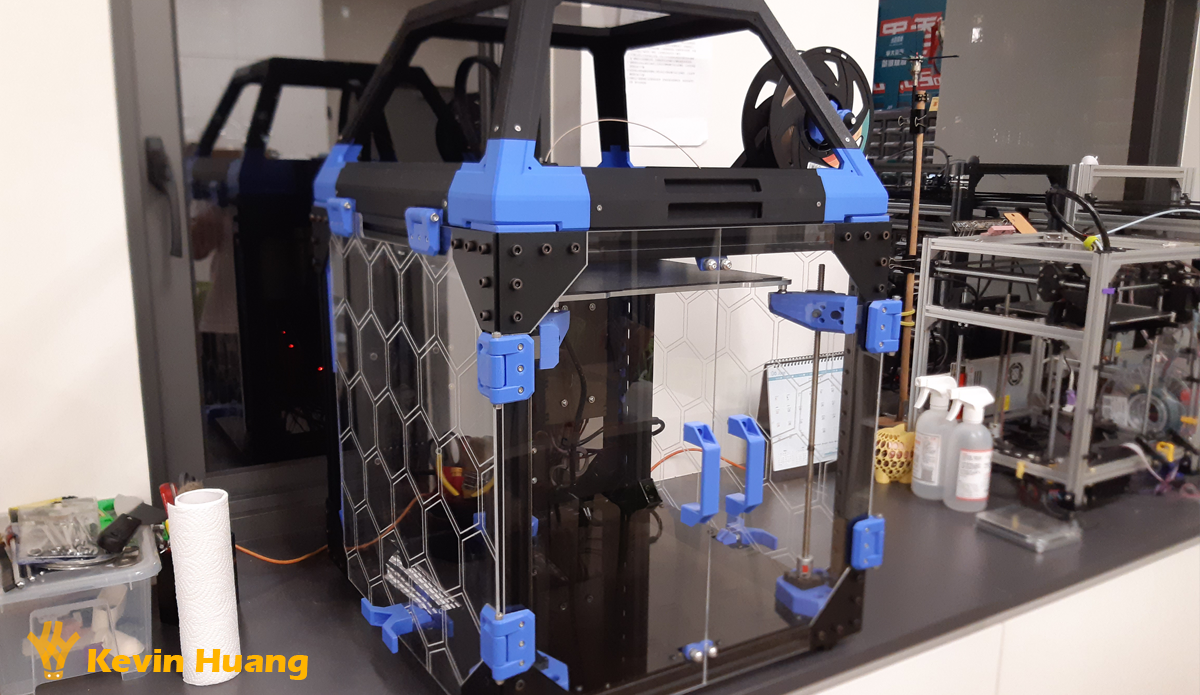 |  |
Throughout the build, I honed my 3D CAD drawing skills using Fusion 360 and deepened my understanding of the electrical structure, as well as the setup process for the RPi and Octopus v1.1 control board. On the software front, I mostly retained the existing setup, but I also integrated time-lapse video recording into the mainsail using an open-source solution from Github.
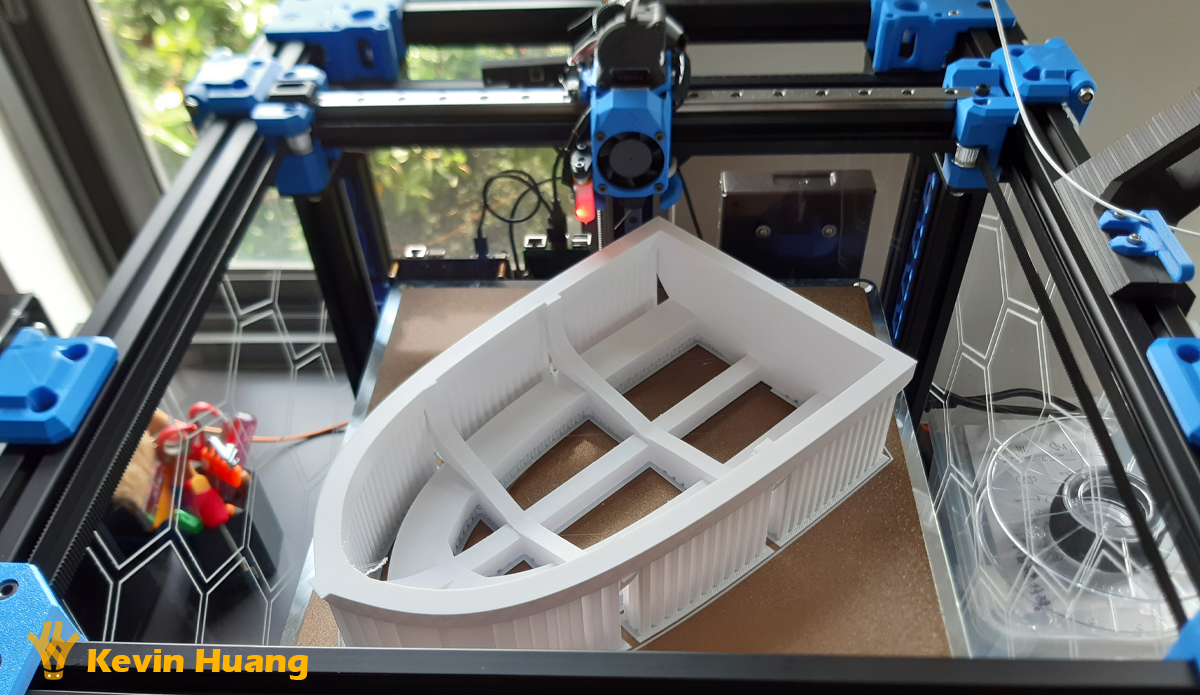 My 3D printer in action
To ensure optimal printing quality, I conducted multiple print tests, carefully analyzing and fine-tuning various parameters to achieve the best results possible. This comprehensive project has not only expanded my technical knowledge but also allowed me to enhance my practical skills, preparing me for future challenges in the field of 3D printing and beyond.
 EVA3 update
Future work
My aspiration is to integrate the Enraged Rabbit Carrot Feeder into my 3D printer, enabling it to produce multi-color prints. Additionally, I plan to incorporate certain features from VZbot to enhance cooling and expedite the printing process.