
3D Printer - V-CORE 3
A from-scratch build of the RatRig V-CORE 3 CoreXY 3D printer
RatRig V-CORE 3
Motivation
The two 3D printers available at NTU MakerSpace (an X1E and a hypercube built by a senior member) were showing their age — years of heavy use without proper maintenance left them producing inconsistent prints. After many rounds of calibration that never quite got the quality I wanted, I decided to build my own machine from scratch.
Machine Selection
I considered three candidates: Voron 2.4, VZbot, and RatRig V-CORE 3. Voron was too common — I wanted something less mainstream. VZbot impressed me with its speed, but felt too ambitious for a first build. The V-CORE 3 hit the right balance: a distinctive calibration mechanism, solid community support, and a manageable build difficulty.
Build
The V-CORE 3 design is documented here. To keep costs down I bought only the essential components from the RatRig store and printed the structural parts in ABS on a senior’s Voron 2.4.
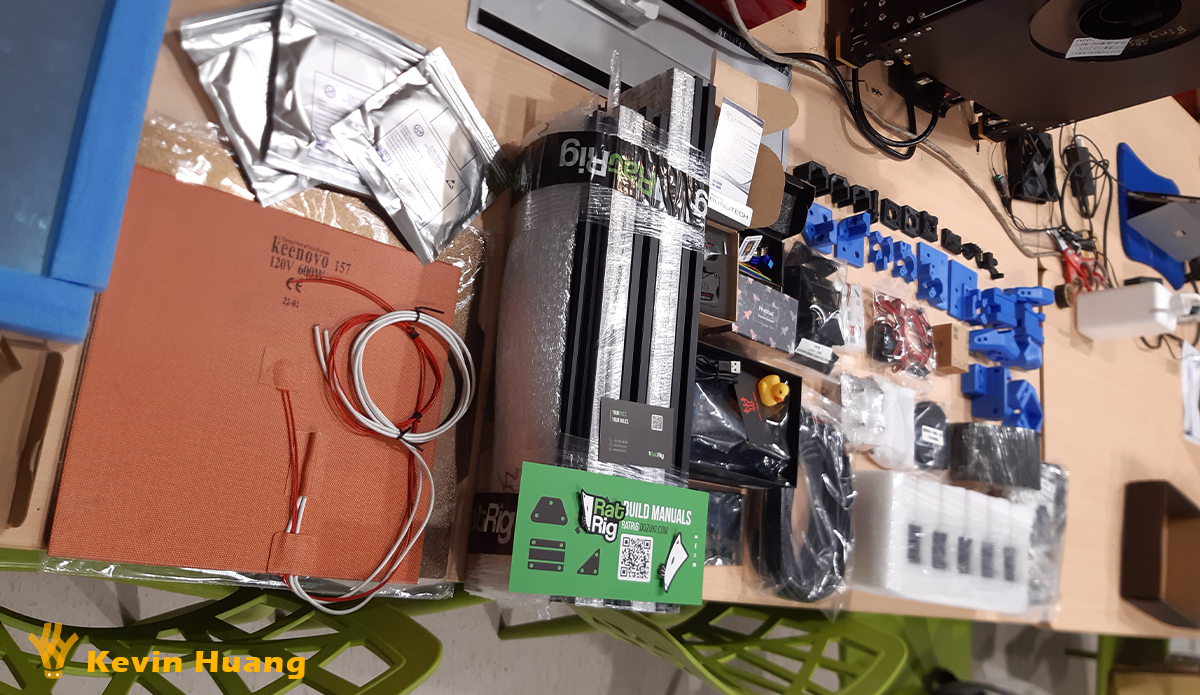 All components laid out before assembly
I made several modifications during the build. The stock RatRig enclosure kit was too bulky, so I designed my own based on a reference build from RatRig’s gallery. When RatRig released an improved enclosure design for newer models, I adapted it to fit the older V-CORE 3 frame for a second revision.
| Enclosure v1 | Enclosure v2 |
|---|---|
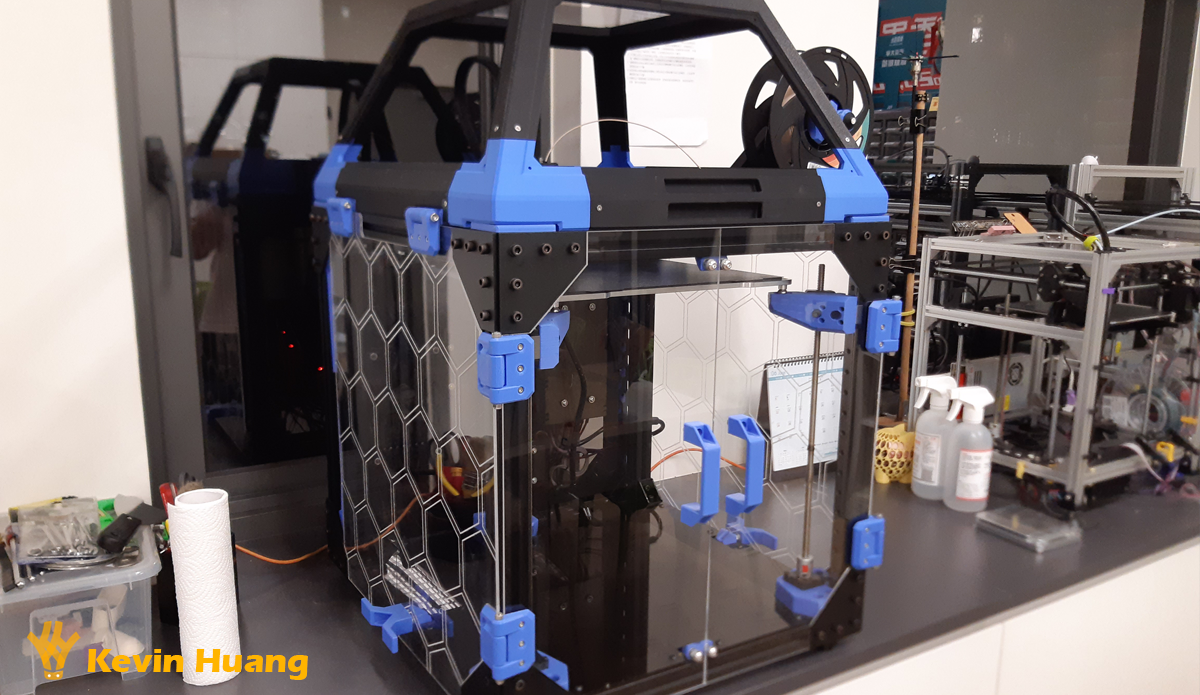 |
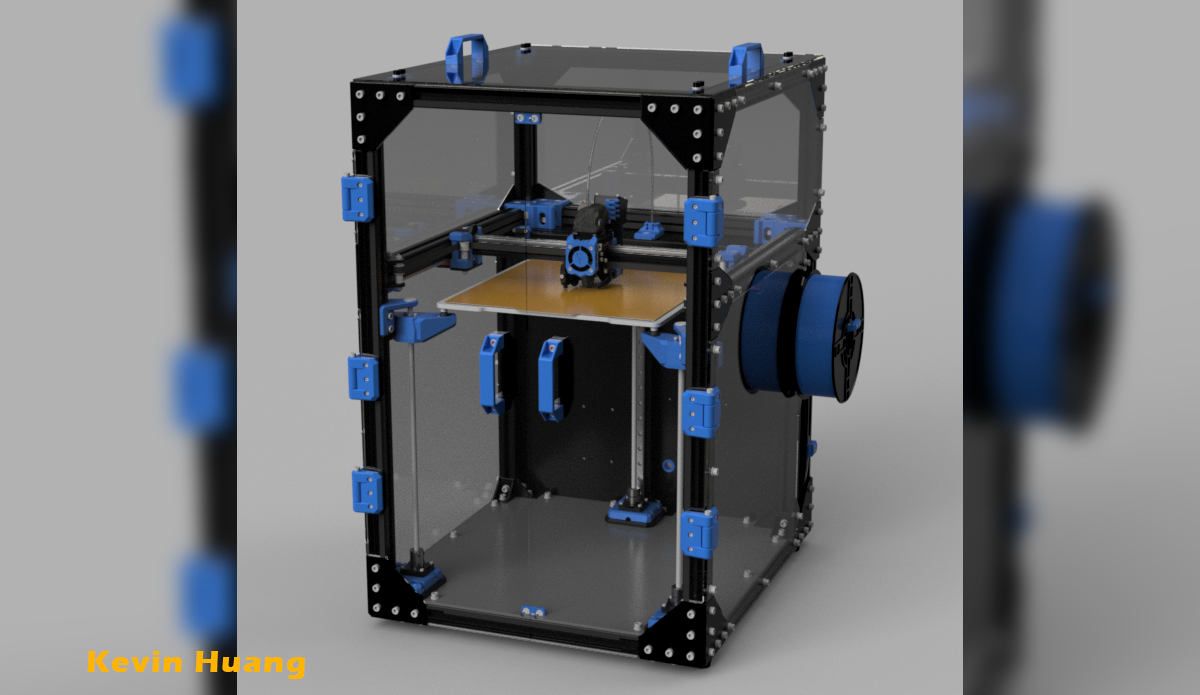 |
The build sharpened my Fusion 360 CAD skills and deepened my understanding of the electrical layout — wiring the RPi and Octopus v1.1 control board from scratch. On the software side I kept the stock Klipper/Mainsail setup but added time-lapse recording via an open-source plugin.
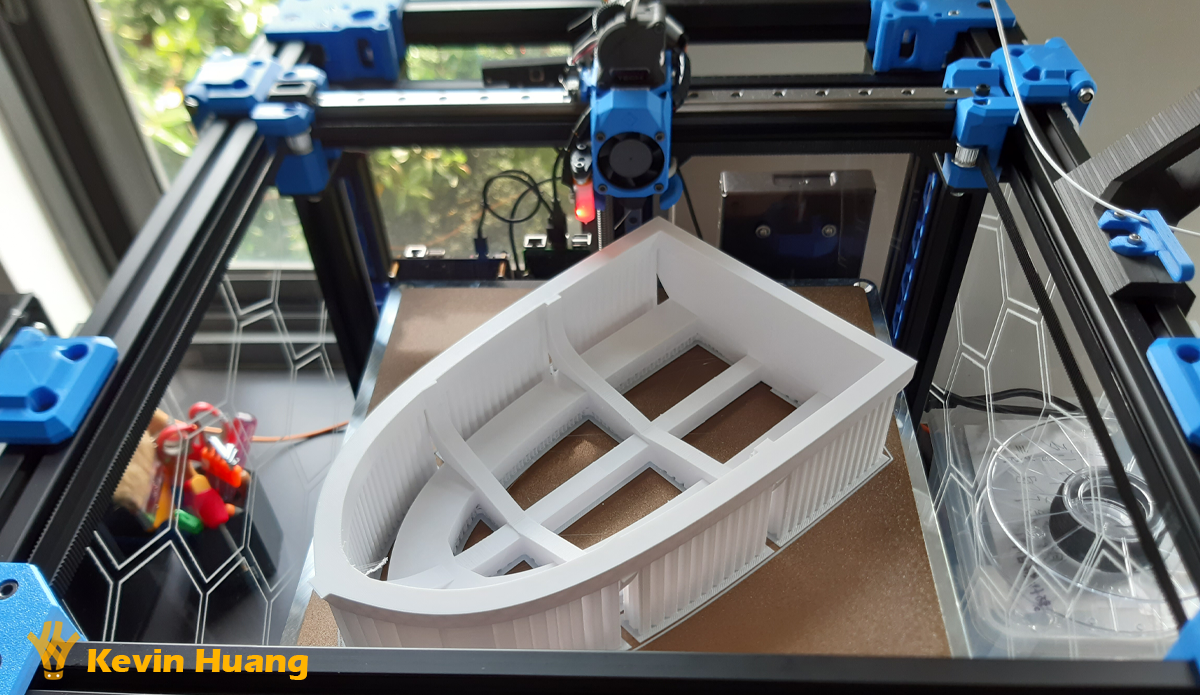 The printer in action
Dialing in print quality took many test prints and iterative parameter tuning.
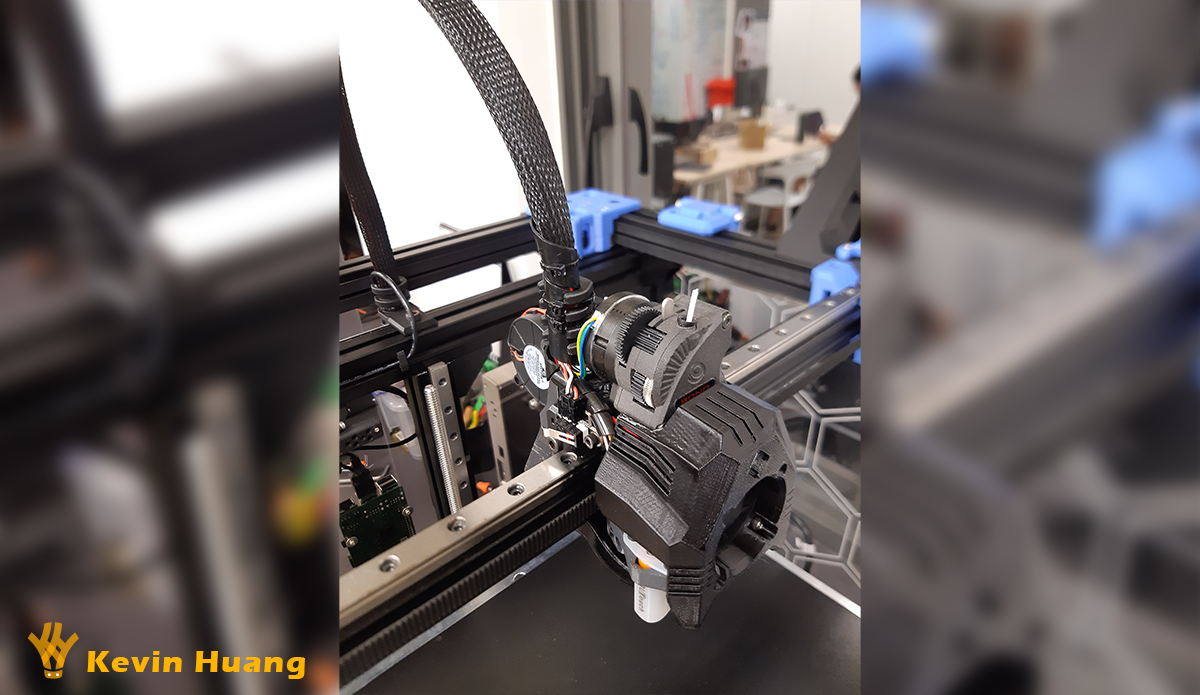 EVA3 toolhead update
Future Work
Next steps: integrating the Enraged Rabbit Carrot Feeder for multi-color printing, and borrowing cooling improvements from VZbot to push print speeds higher.